Start Python for Image Processing with OpenCV and ML


For beginner: I recently started learning image processing out of personal interest and I hope this article will serve as a helpful starting point for others who are interested in this field as well.
Nowadays, Python’s convenience, various libraries, wealthy resource and interoperability make it a popular choice for computer vision projects. As for computer vision libraries in python, OpenCV is considered to be a traditional and most common choice with no doubt. On the other hand, with the development of AI, a variety of vivid instances in ML led us to experience more as well when dealing with image.
So, what is the connection between OpenCV and ML when it comes to Image Processing?
OpenCV(Open Source Computer Vision Library) is originally written in C++, however we could simply integrate it in python projects now since it has been made available in python. It handles image processing, object detection and image recognition. To put it simple, it processes images based on image level, through image data transformation and mathematical computation in computer.
While ML(Machine Learning Algorithm) is another popular word we often hear in the field of image and video processing including image classification, object detection, face recognition, and so on. It emphasizes a specific algorithm of data, by using a set of mathematical methods to analyze, summarize and predict. It can not only be applied on Image Processing, but also in a wide range of areas. To be specific in image processing, ML makes it possible for computer to recognize features in a mess of image data, which means that computer being able to learn in some way.
In this article, I will introduce some typical examples in image processing, which I found interesting.
I would like to introduce some simple functions and examples in OpenCV to start with. You could use your preferred python IDE. I will use anaconda virtual environment with Jupyter notebook and skip setting up the python environment. Here are some necessary packages I used and I recommend you to install them beforehand.
- conda=4.5.11
- jupyter=1.0.0
- keras=2.2.2
- libopencv=3.4.2
- numpy=1.15.1
- opencv=3.4.2
- pandas=0.23.4
- pillow=5.3.0
- pip=10.0.1
- python=3.6.6
- scikit-learn=0.19.1
- scipy=1.1.0
- tensorflow=1.10.0
- jedi=0.17.2
- dlib
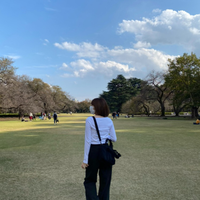
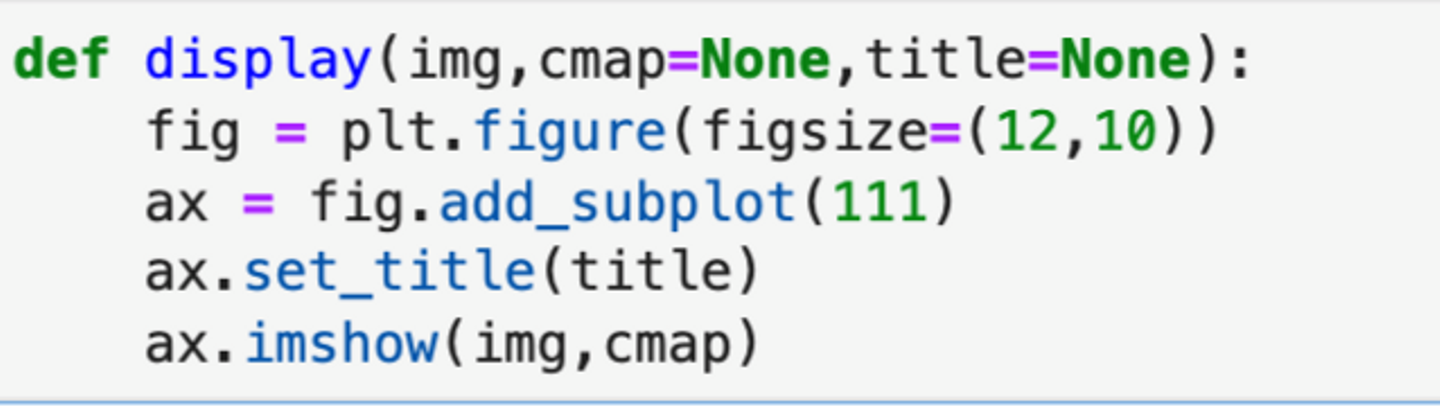
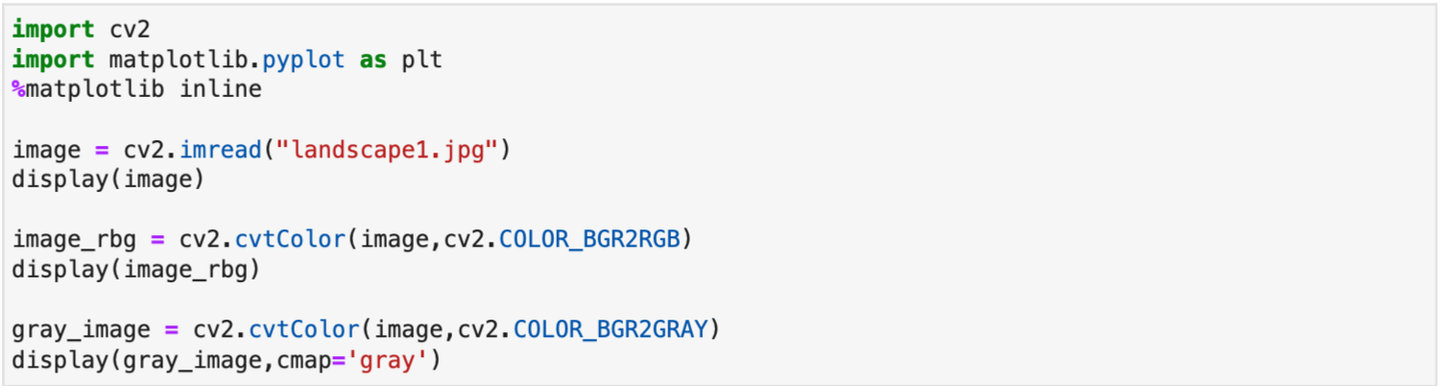
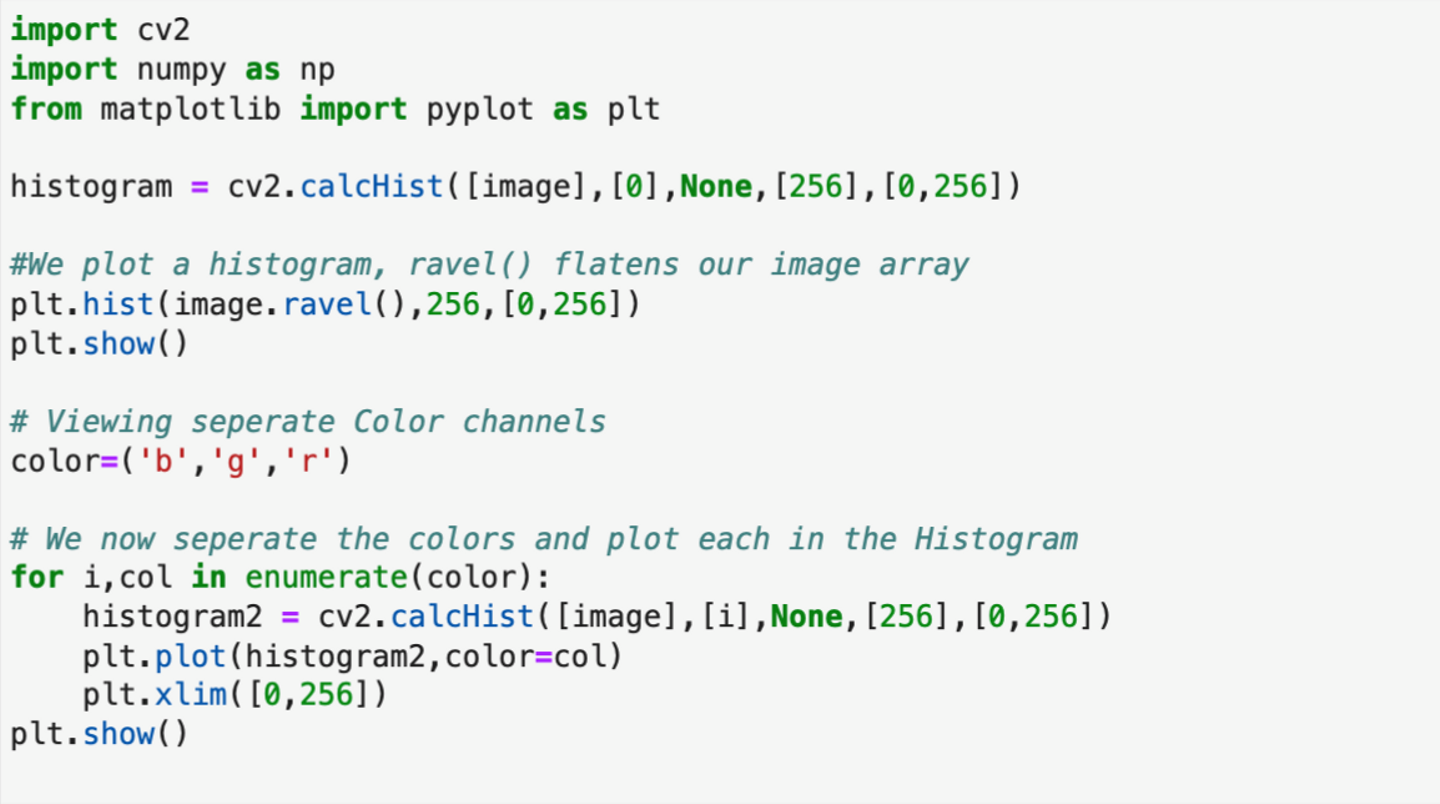
Typically, the standard packages for image processing are "cv2" and "numpy." To make it easier to display images, we can use matplotlib, so I've included a customized "display" function for convenience.
Color Pattern
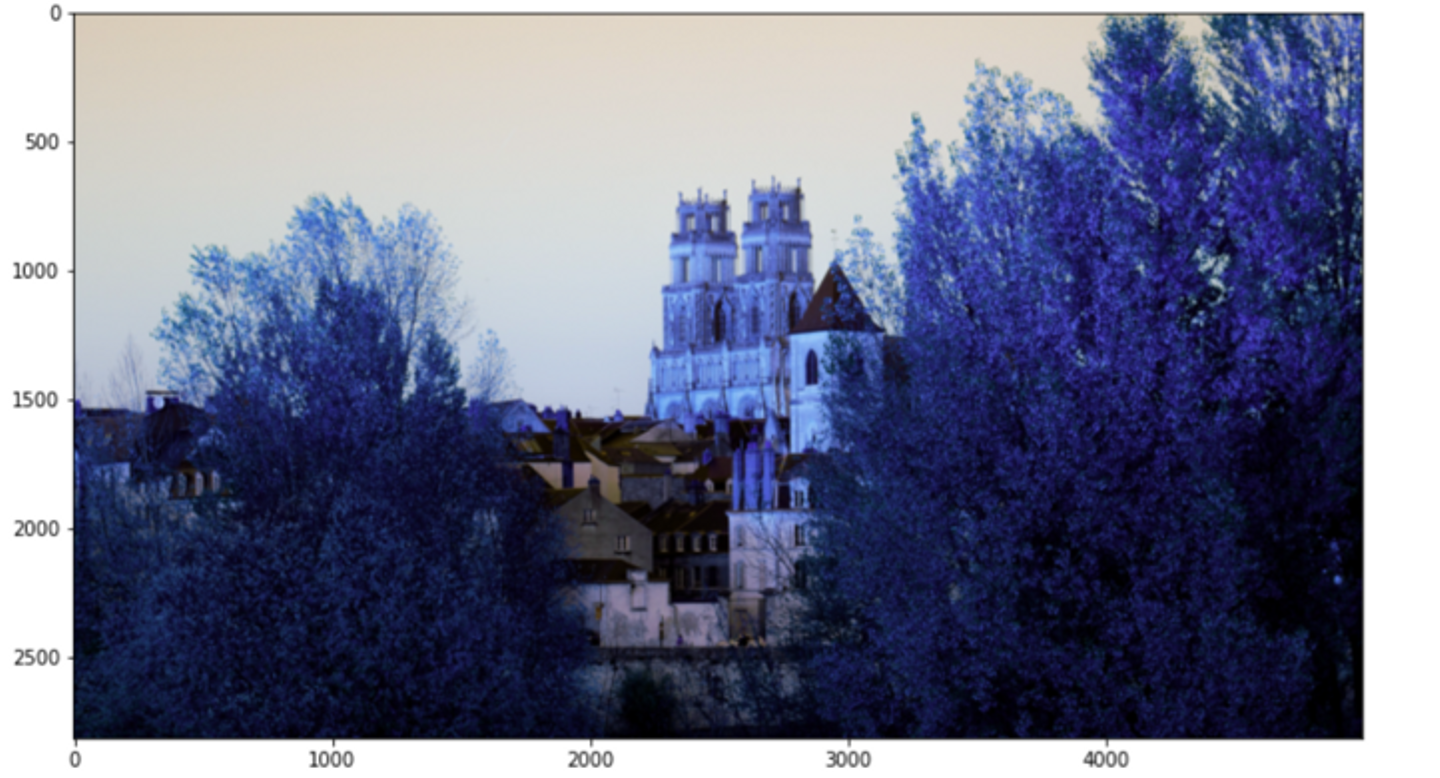
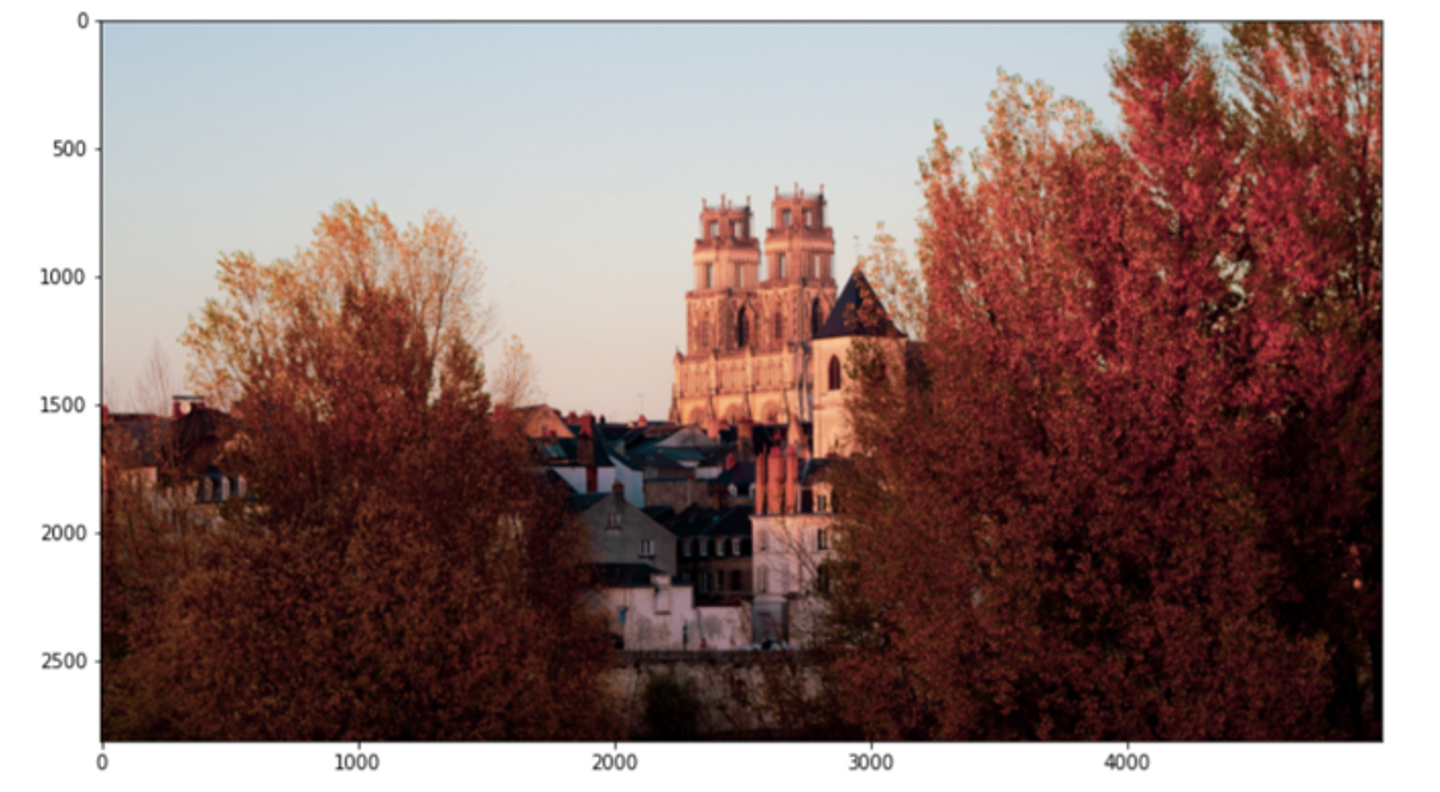
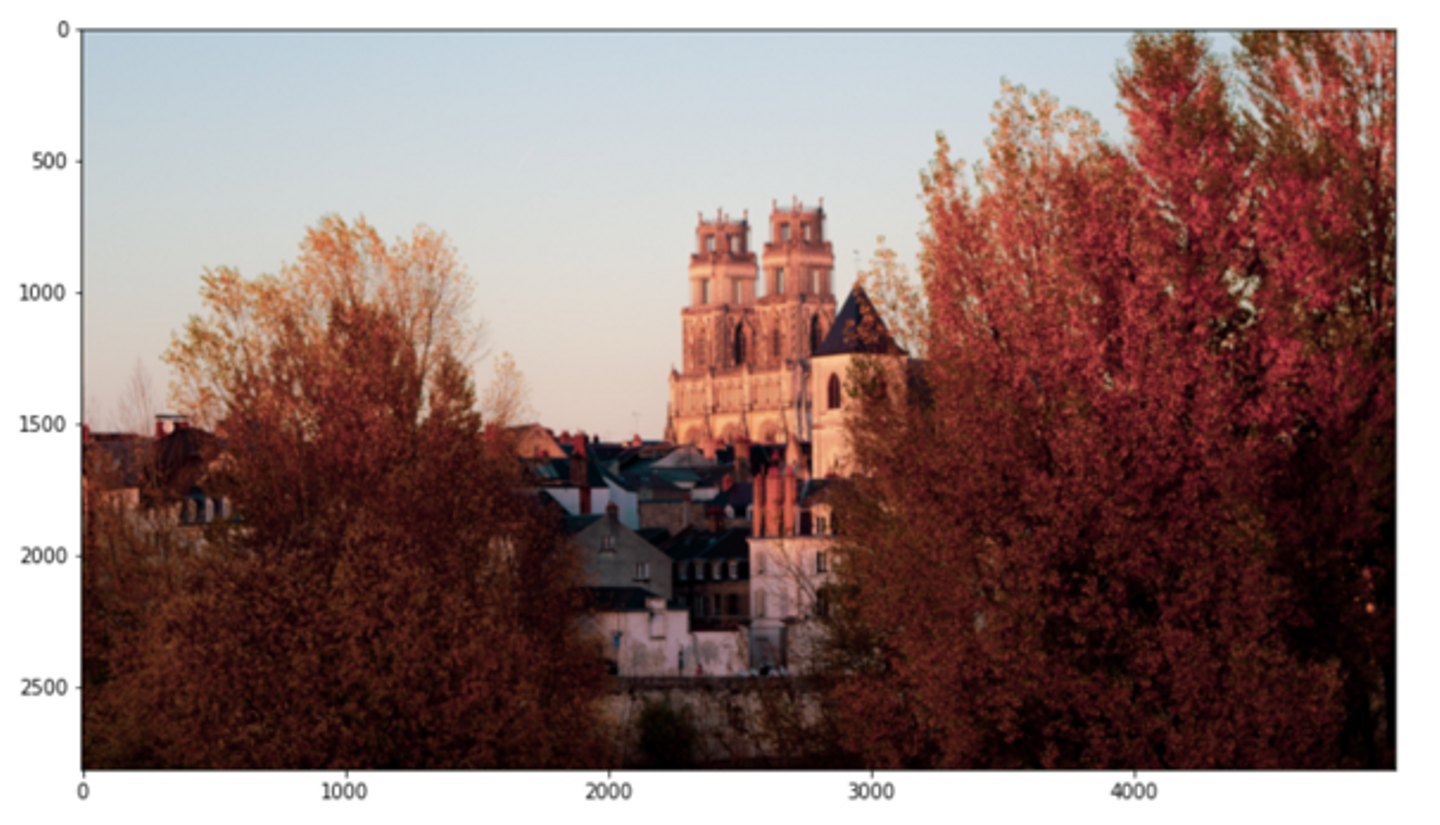
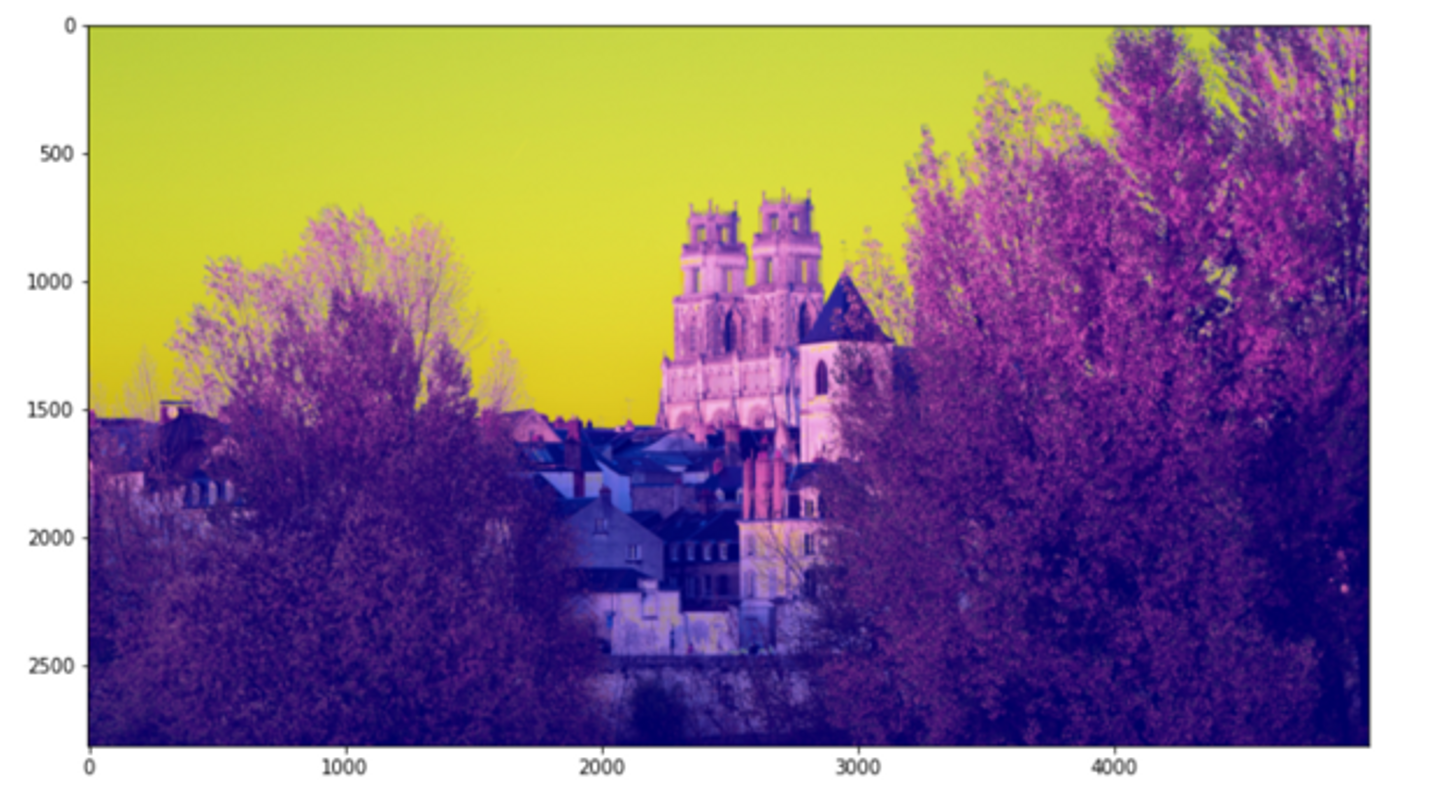
When we are using OpenCV to read images, images are read as “BGR” as default. And when using matplotlib to show images, it will take images as “RGB” by default. That’s why we often use cv2.cvtColor()to correct color for displaying.
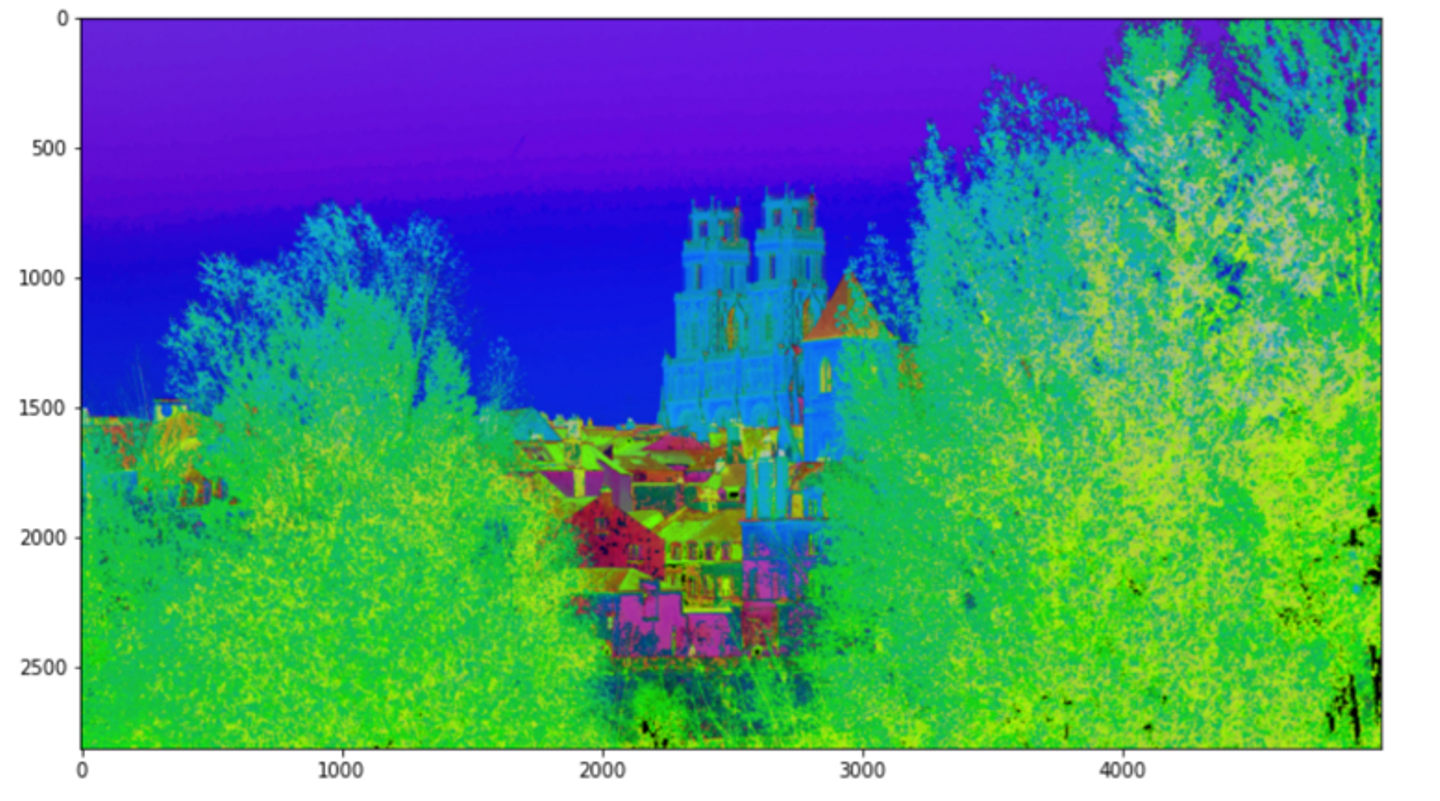
There is another famous color pattern other than RGB. It is known as HSV(Hue, Saturation, Value). The value range of Hue is 0 ~ 180, Saturation is 0~255, Value is 0~255, while RGB is 0~255 separately.

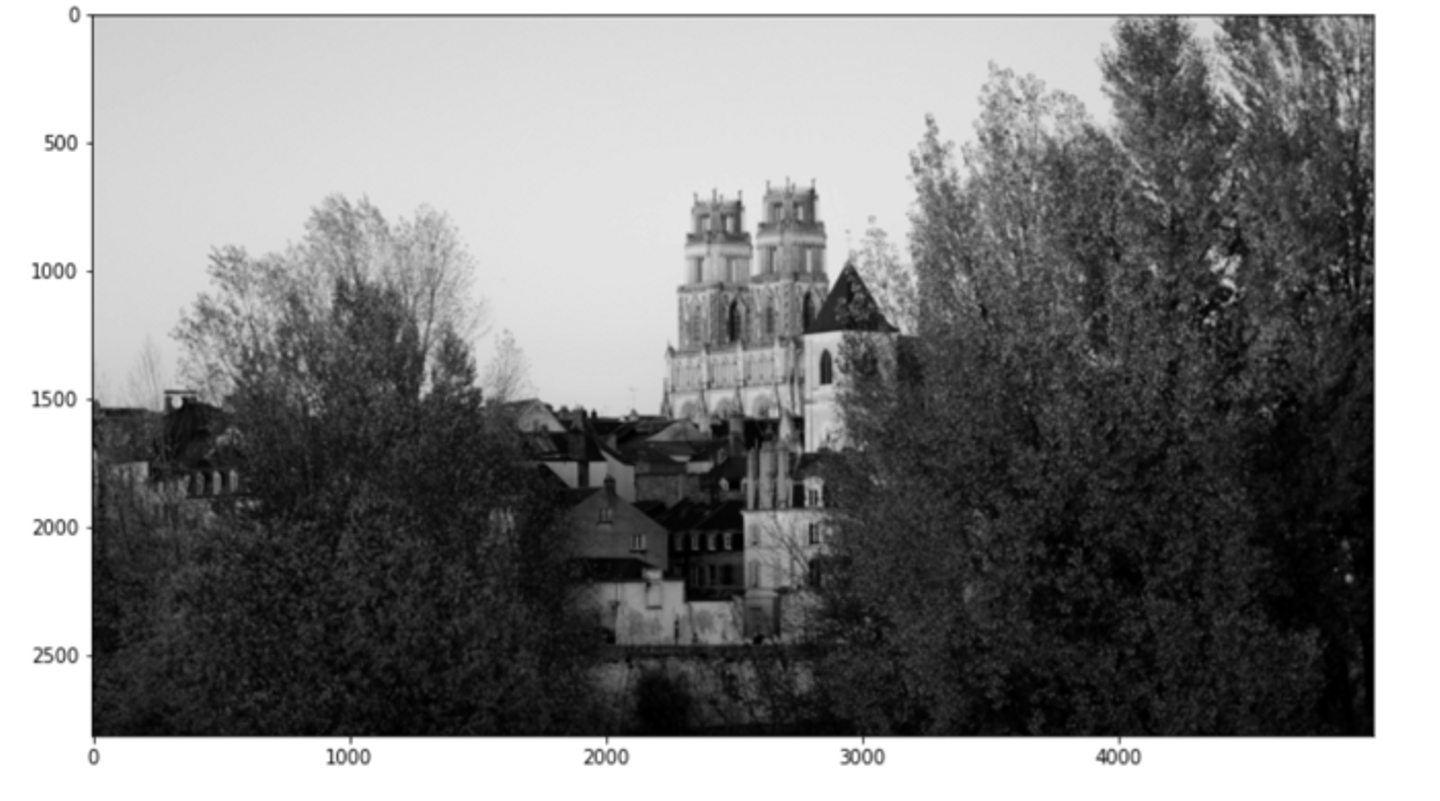
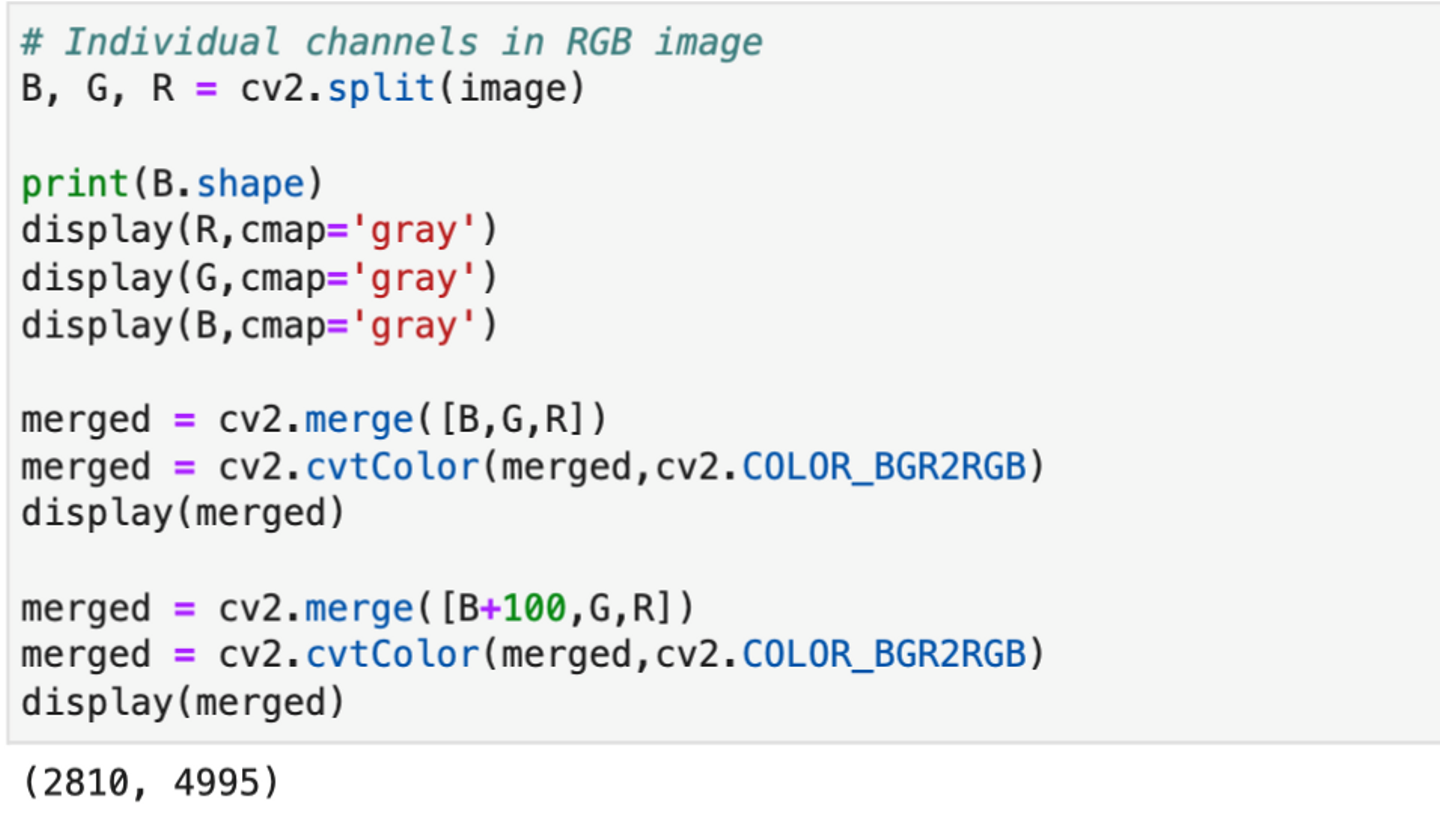
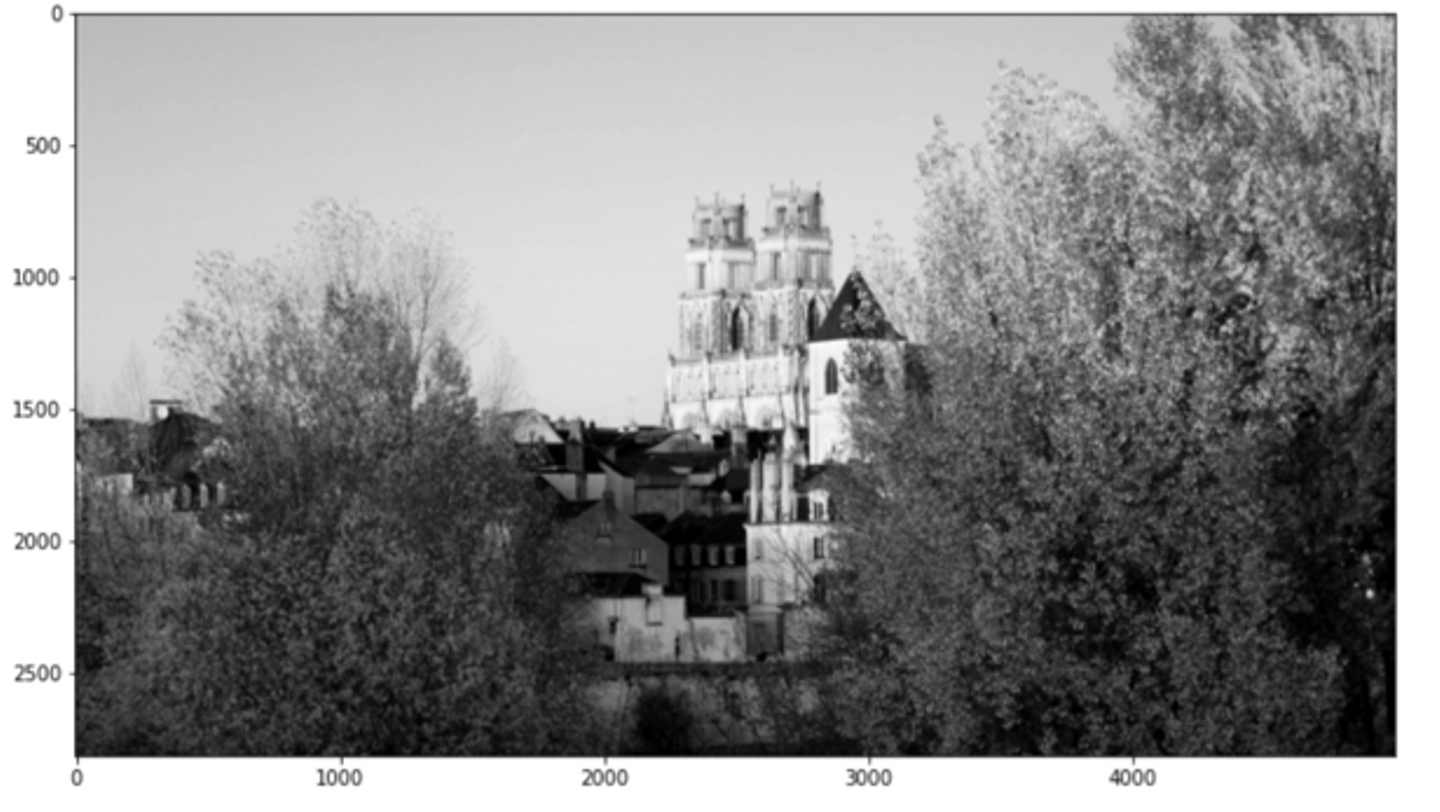
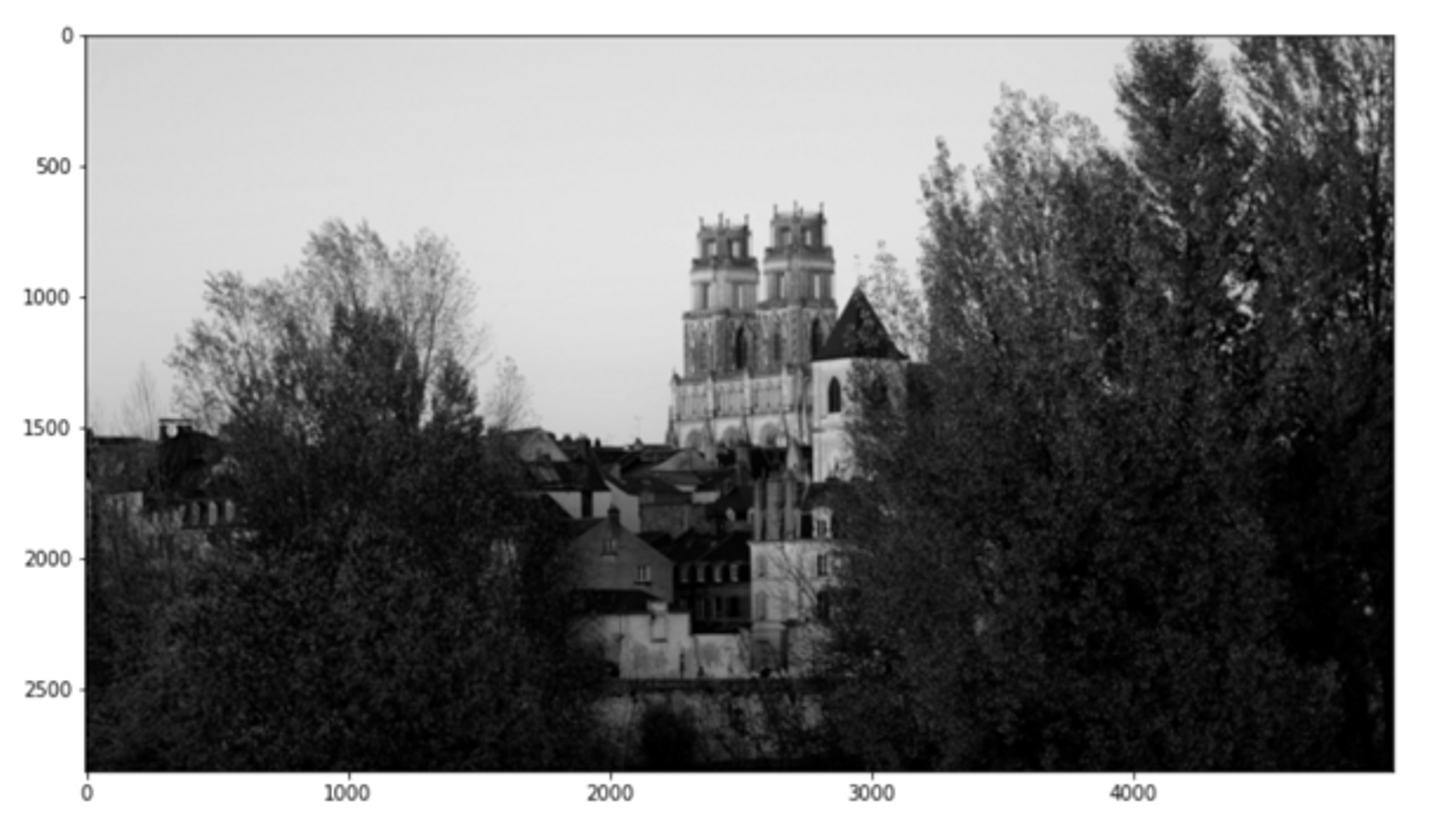
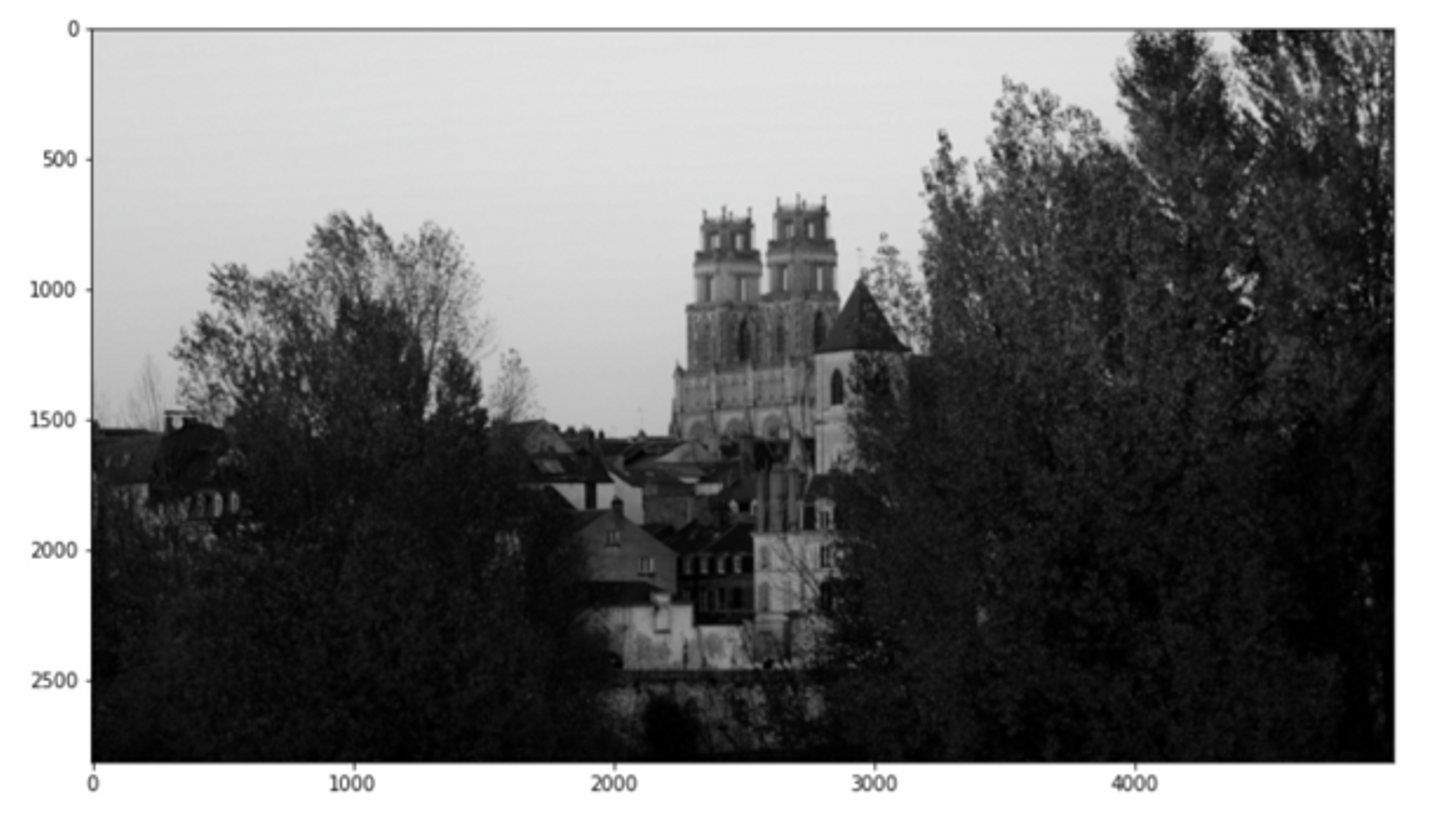
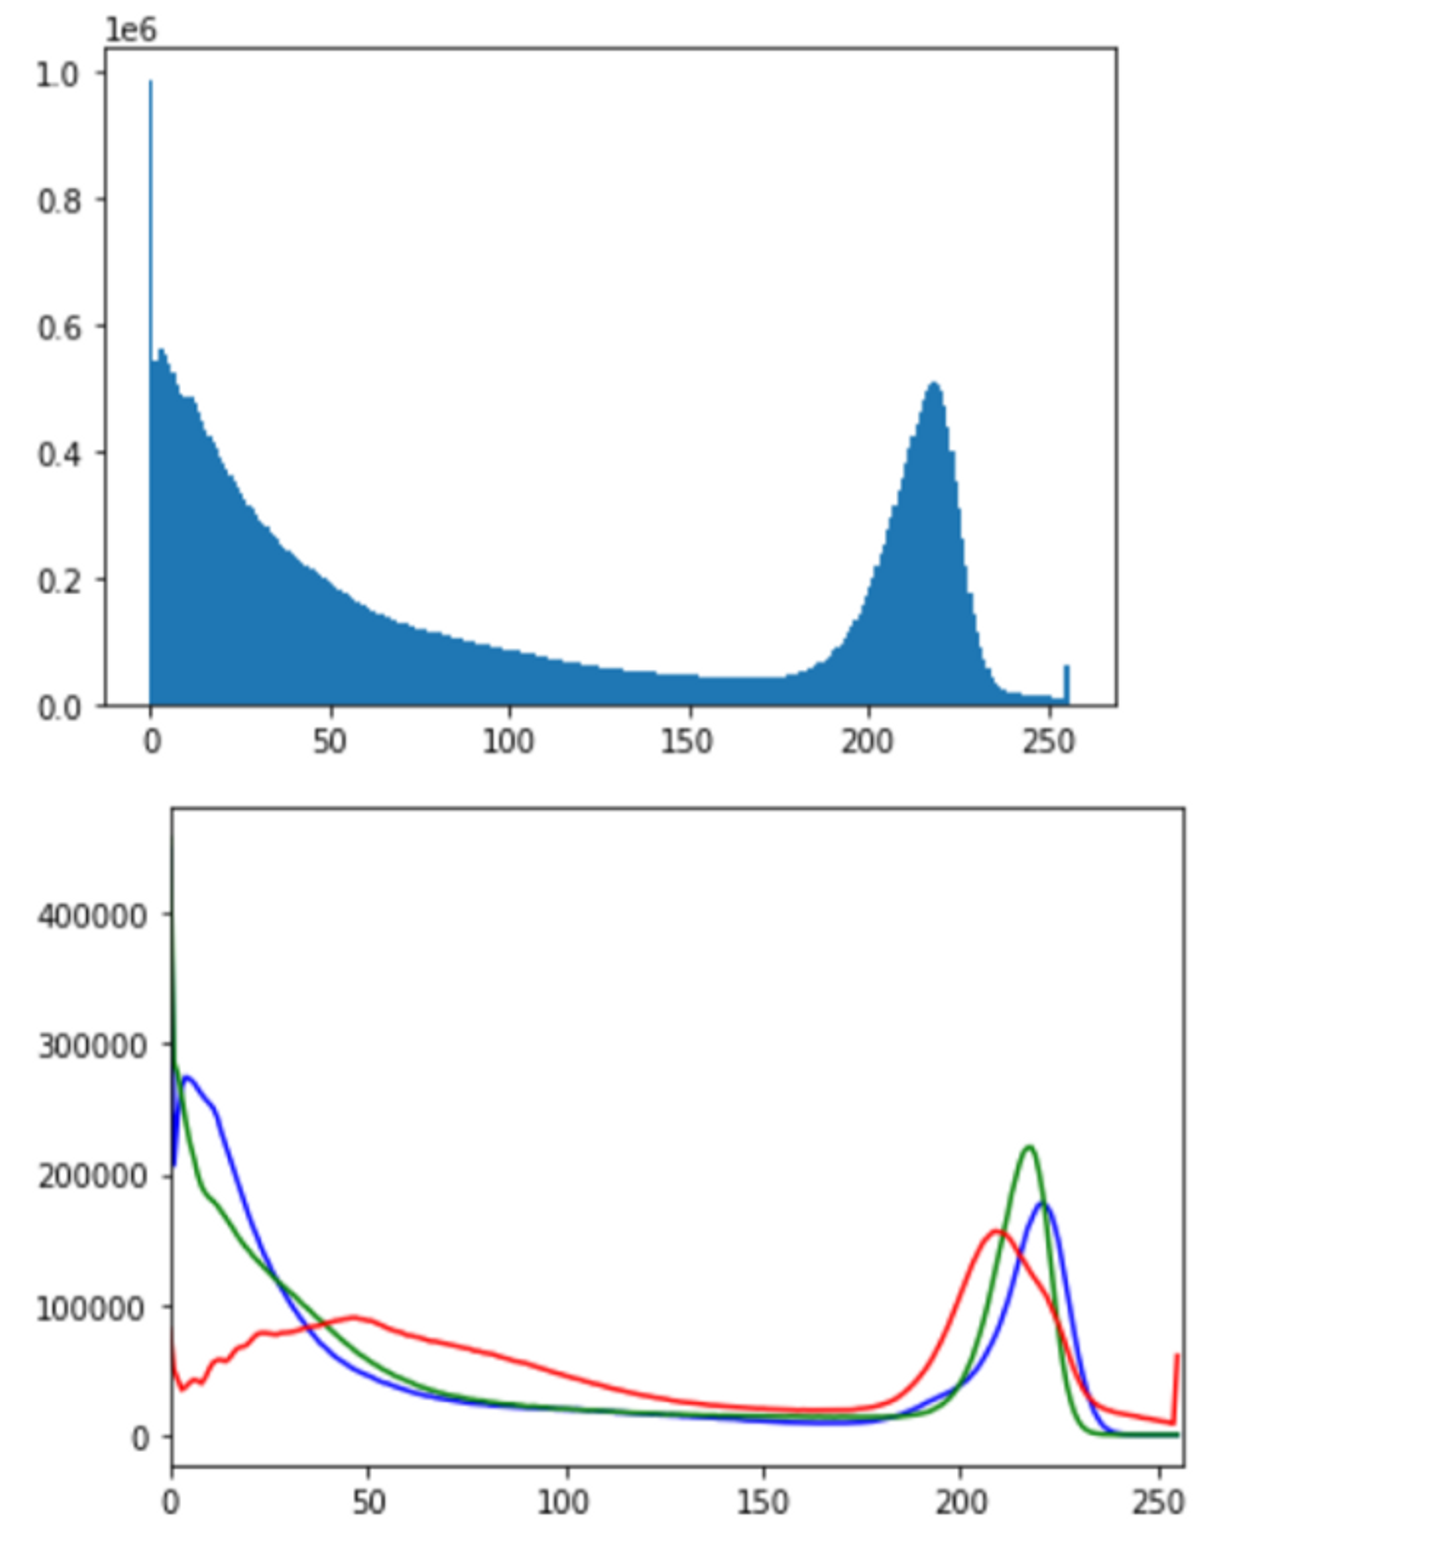
As for RGB image, there are three channels: Red channel, Green channel, and Blue channel. We can actually split the three channels and see what it likes.
We may also use cv2.calcHist() function to check by histogram of color channels.
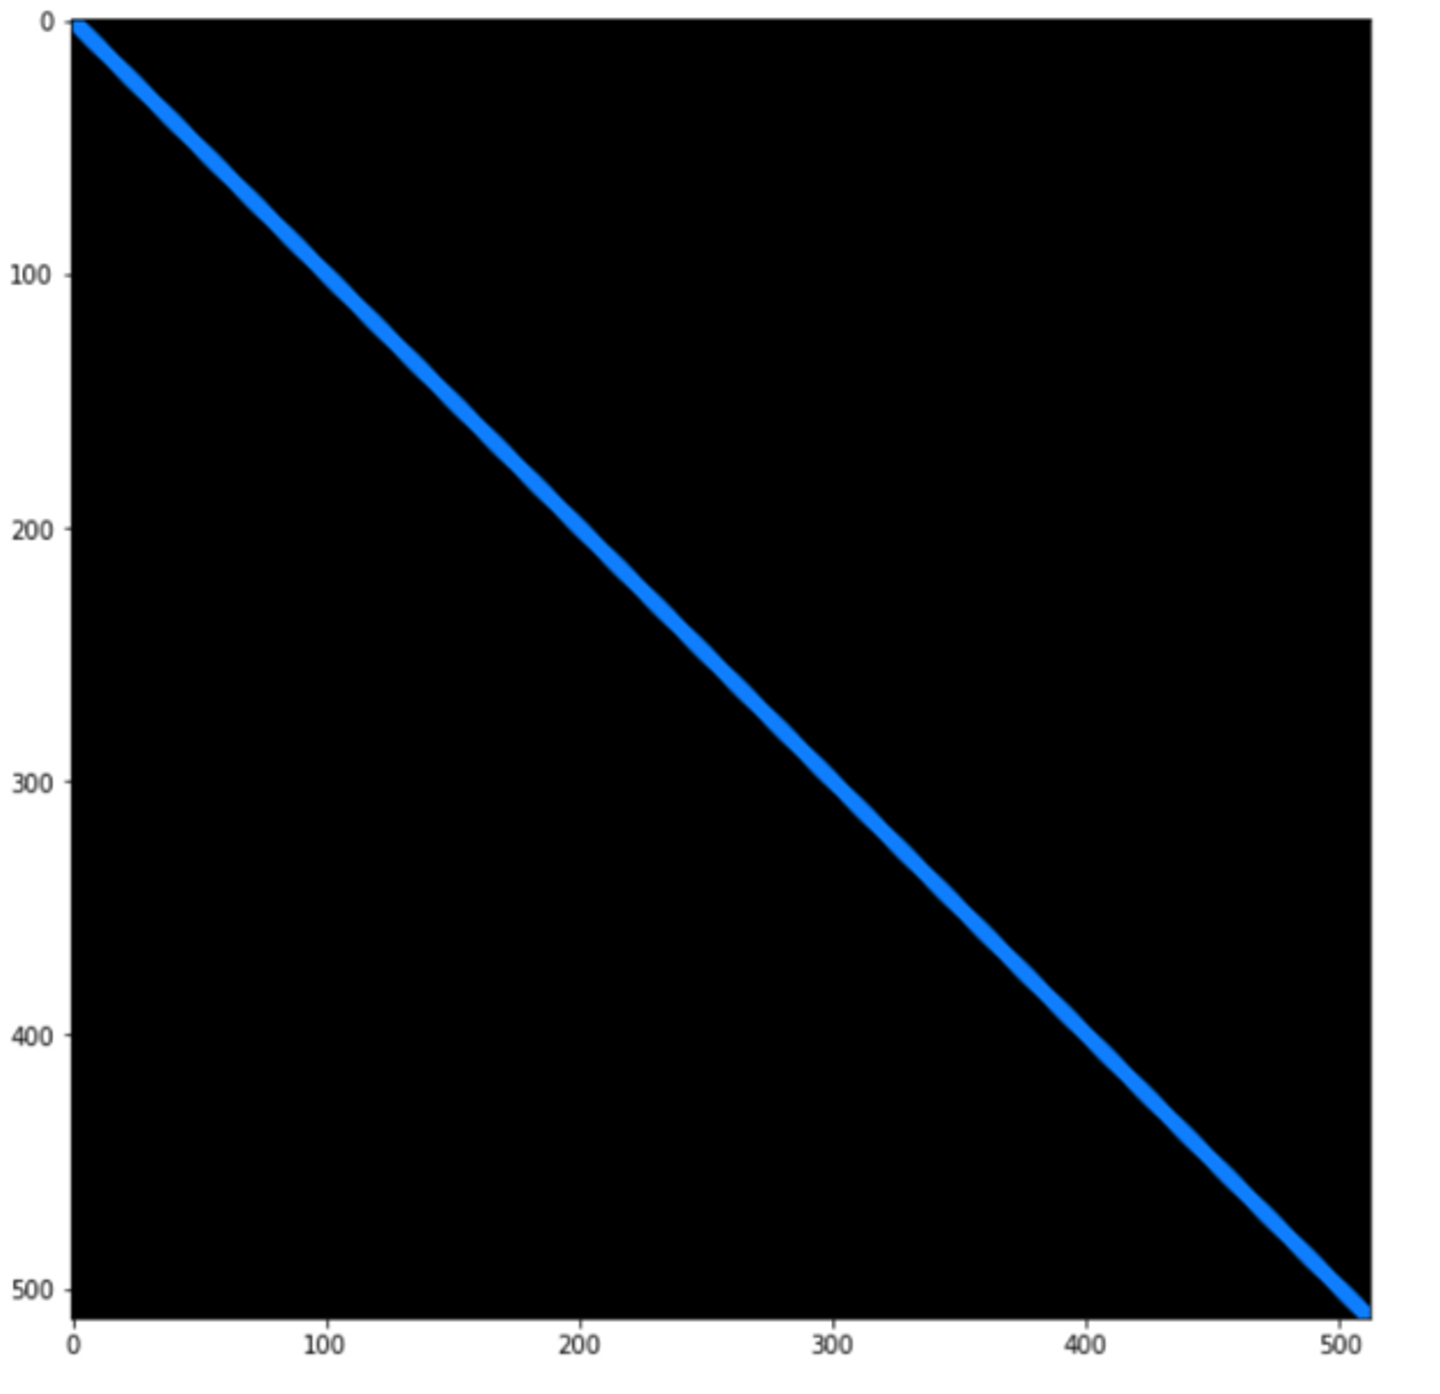
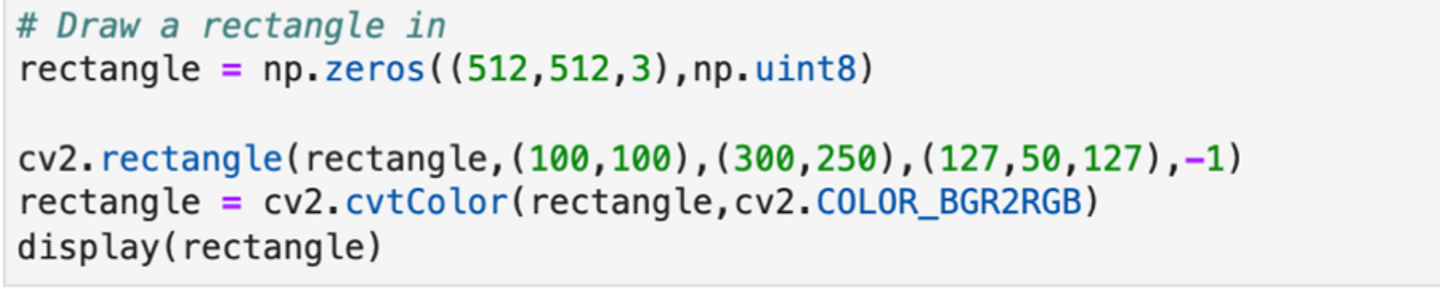
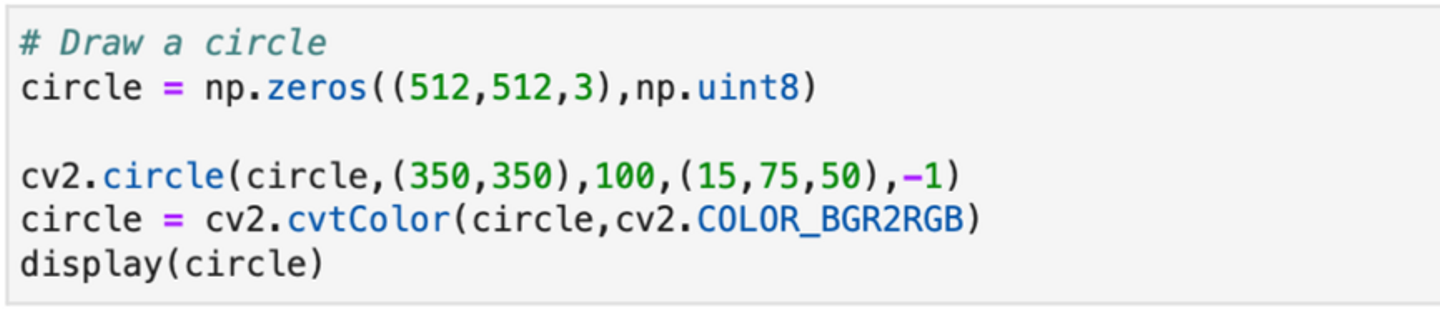
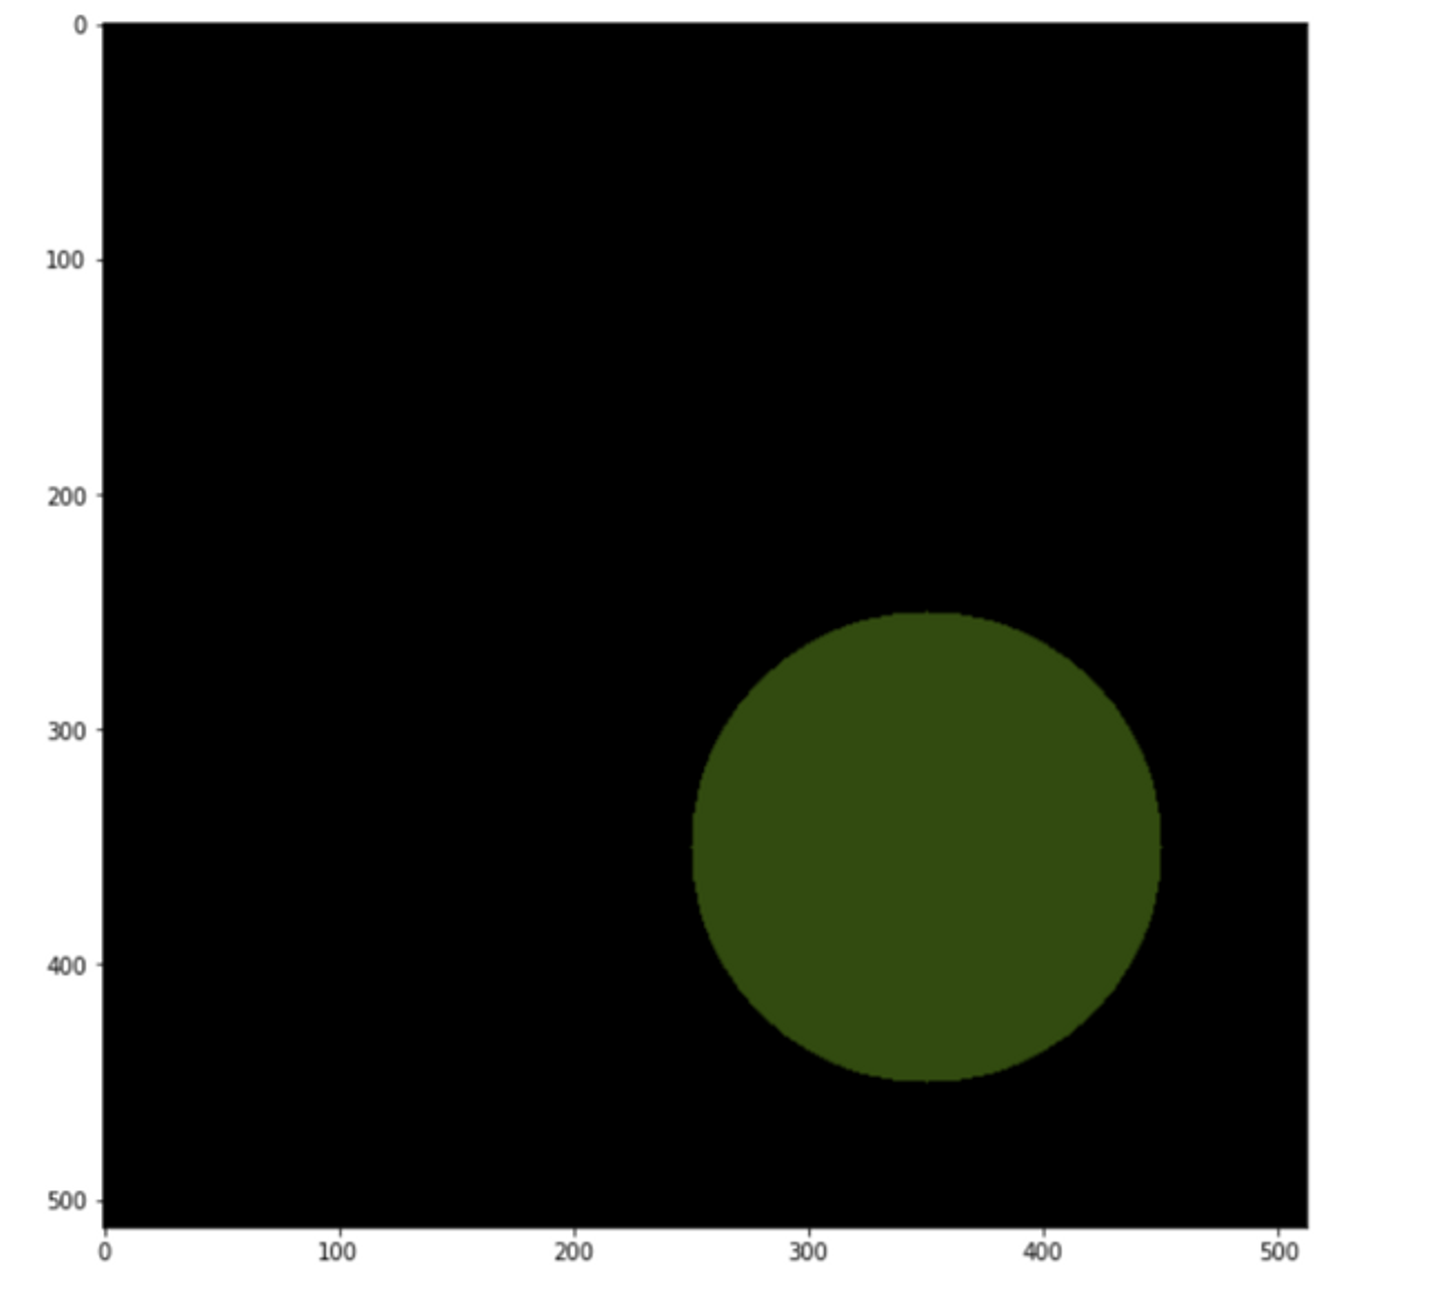
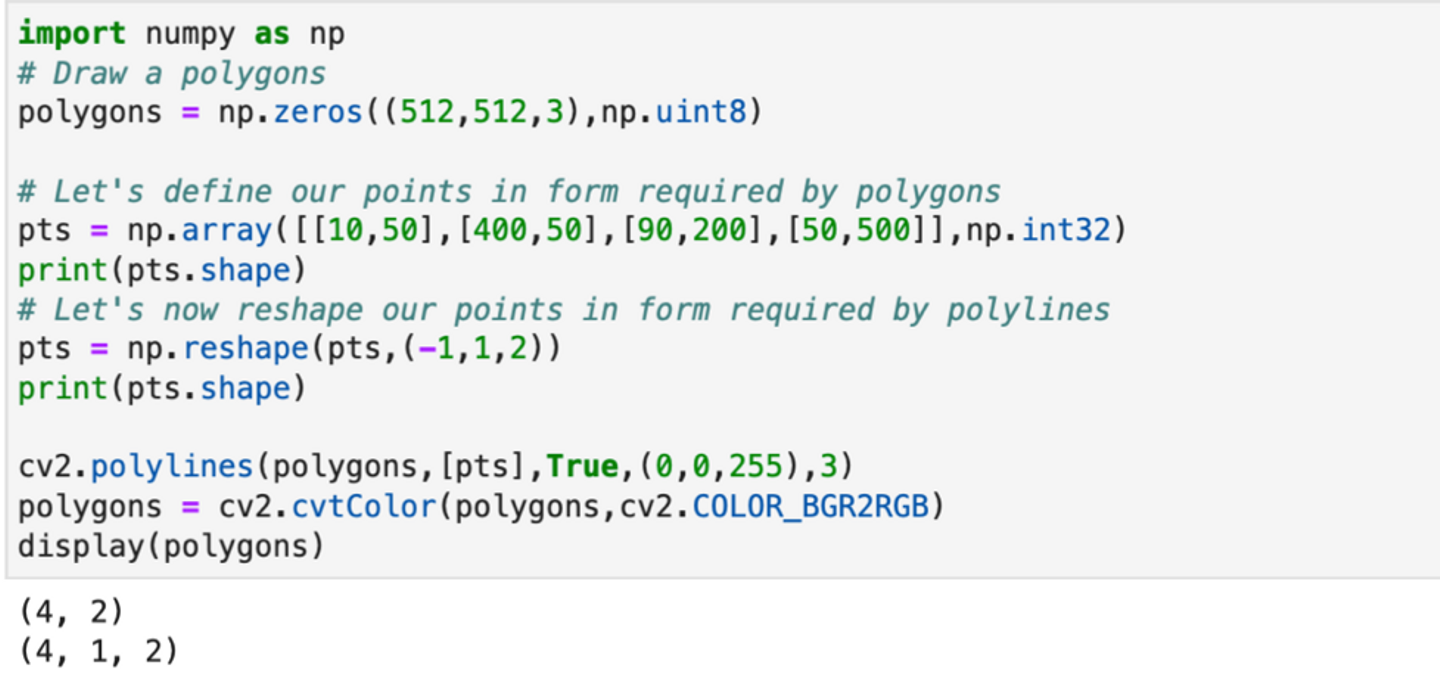
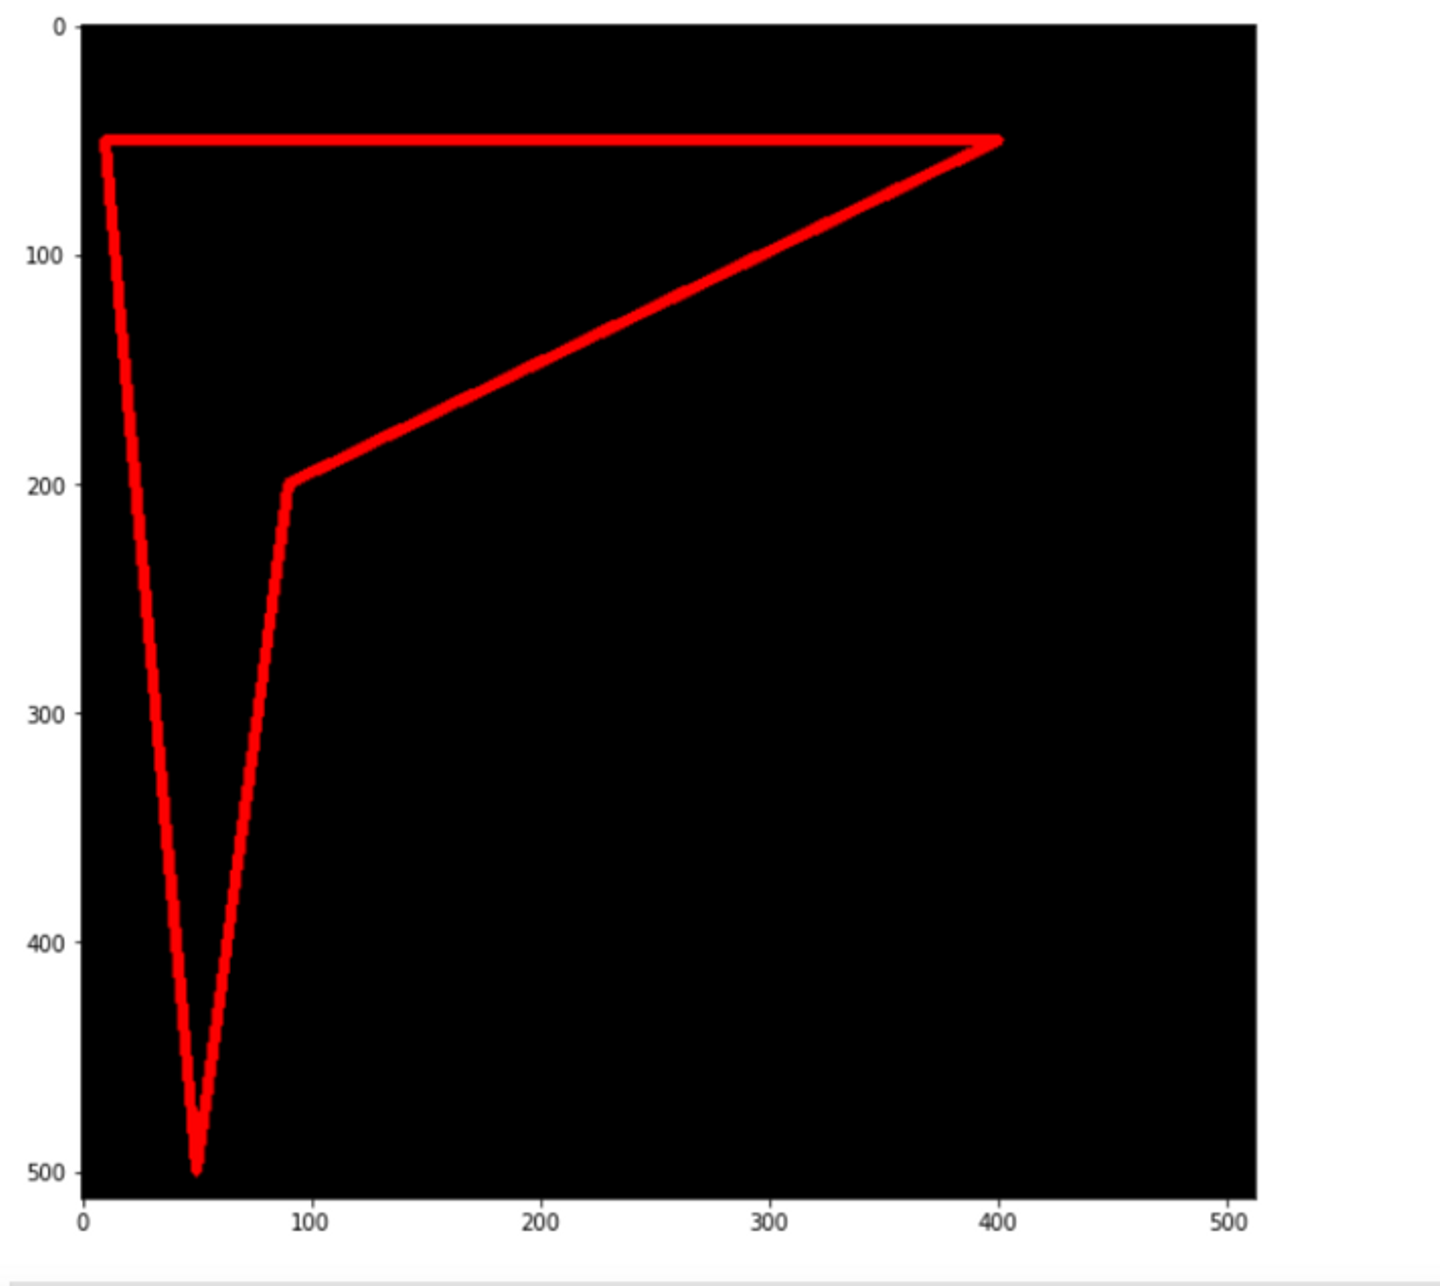
Draw on Image


Stay tuned for the next part, coming next month
/assets/images/4929676/original/8597b483-64a0-48fe-b10d-2e278526c87f?1587534317)
/assets/images/4929676/original/8597b483-64a0-48fe-b10d-2e278526c87f?1587534317)